
 "I am quite happy with the ERP solution provided by Matiyas. Before we implemented their system, our organization was struggling with inefficient processes and fragmented data. Their customized ERP solution not only streamlined our workflows but also provided real-time insights into our operations. The customer support from Matiya's Team has been exceptional throughout the journey."
 "Matiyas offered us a functionally strong and automated solution to address the end-to-end needs of our business operation. This solutions will be able to scale and grow our business and it will surely reduce manual interventions."
 "I wanted to thank you Matiyas team to set-up the ERP system based on our business process. The assistance was invaluable in helping my company get as we requested. We sincerely appreciate your efforts and thanks again Matiyas team to provide us a best solution with the erp system."
  "Go ahead with Matiyas and Capture data at lowest level and you can build | report | analyse | get insights across business dimension to take informed decisions."
 "The implementation of the Matiyas ERP solution has revolutionized our workflow. The automation of previously manual processes has not only saved us time but also significantly reduced errors. It’s like having an extra set of hands on our team, streamlining operations and boosting productivity"
  "We would definitely encourage anyone willing to get services from Matiyas. they are honest hardworking and smart team. they stretch them maximum to achieve success for their clients."
  "Matiyas system has been helpful to us for execution of our day-to-day operations in scholarship. The team has been very supportive and always available to accommodate with any challenges that we have faced. Overall, we had good experience working with Matiyas!"
 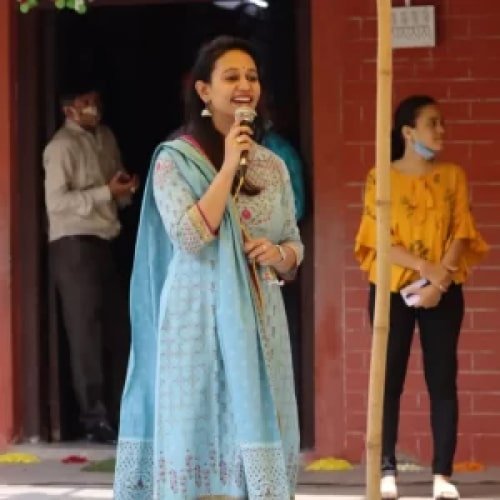 "We at I2E Consulting were looking for Healthcare Module consultation in ERP and we came across Matiyas Solutions website. From managing the business to adding his Expertise in Healthcare module, Hasan has done it all single handedly. All our Queries were solved in a timely manner. Regular follow ups were done."
 "Our company is very new to ERP, we tried to implement ERP by ourselves, however along the way we found struggles as we are very new. We are lucky HasanAli from Matiyas helped us in many ways, from a simple question to very complex developments and deployments. Rates are reasonable too! We are happy that Matiyas is there to help us."
 "The folks at Matiyas Software are the best. They're skilled, work quickly and professionally, and were able to tailor ERP to our exact specifications. Would use them again."
 "Very knowledgeable and prompt and professional. I highly recommend Matiyas for any ERP customizations."
  “Moving from long standing practices to a new system is always challenging. The Matiyas team handled the transition with professionalism and complete cooperation across all departments. The ERP is extremely user friendly and easy for every department to understand. Continuous support during implementation made the process smooth. Dashboard-based reporting has given us control over every department at the same time.”
  “We had requested this customized report from another vendor, but they were not able to do it. Matiyas was able to customize the report exactly as per our requirements. We have been using ERP since 2016, and this report will help us significantly in decision-making. Matiyas's ERP is a good product.”
  “Working with Matiyas gave us confidence from day one. Their ERP customization expertise and commitment to delivering the right solution made a real difference to our business.”

































Blog
Our Latest Blog
We provide company and finance service for
startups and company business.